

Creating beautiful grazing arrangements is always a rewarding experience, but finding a comprehensive charcuterie board kit can be a challenge. Much of what is featured today only provides the board and sometimes utensils, despite displaying mouthwatering food in their photos. Because of this, DIY attempts can fall short due to difficulty finding the best meats, cheeses, and treats in stores, as they’re often only available through private distributors.
This guide is tailored to help charcuterie enthusiasts discover kits that not only include essential tools but also high-quality, exclusive ingredients for a truly delightful experience. We even went as far as sharing our top picks to help you save time.
Become a charcuterie artist with the help of 514K enthusiasts and professionals. Click here for quick, easy lessons and community support >>
Table of Contents [CLICK HERE TO OPEN]
What to Look For in a Kit
Pre-selected ingredients for convenience
When looking for the ideal kit, pay close attention to the assortment of gourmet ingredients it offers. There should always be a diverse mix of cheeses, cured meats, crackers, and accompaniments that work well together. To avoid disappointment, be sure to examine both online photos and product descriptions to confirm if food is included. There’s nothing more frustrating than expecting a comprehensive package and ending up with an incomplete set, leading to a last-minute dash to the store for costly items.
Clear and easy-to-follow assembly instructions
With most DIY kits in other markets, you’d typically expect to find clear and easy-to-follow assembly instructions. Regrettably, that’s not always the case with charcuterie. When choosing a kit, look for those that provide some sort of visual aids such as step-by-step videos.
Serving board is included
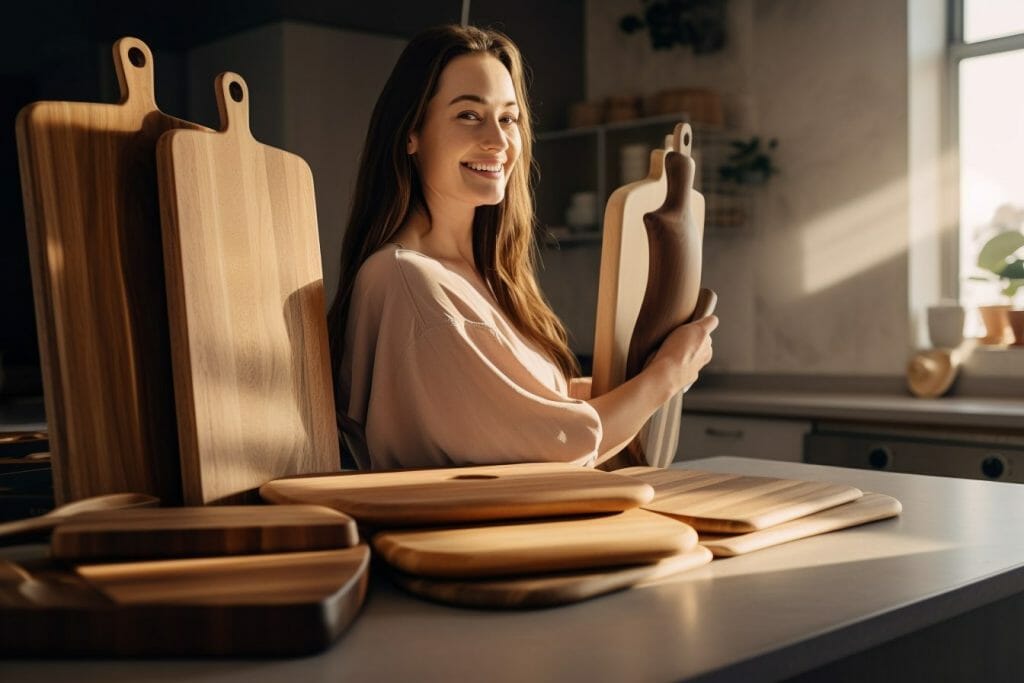
What’s a charcuterie board without the board itself? A top-notch kit should provide a high-quality board that not only showcases your charcuterie artfully but also endures over time. While some kits may offer trays instead of boards, make sure to read the description to make sure that’s what you are looking for. Be cautious of lower-quality options like bamboo boards, as they may have a shorter lifespan.
Best wood options:
Walnut: This hardwood is both durable and visually appealing with its rich, dark color. Its tight grain makes it resistant to bacteria and stains.
Maple: A dense and sturdy wood, maple is also resistant to bacteria and stains. Its lighter color provides a nice contrast for displaying charcuterie.
Cherry: This attractive wood has a warm, reddish hue and a tight grain, making it a good option for charcuterie boards due to its durability and resistance to bacteria.
Teak: Teak is a hardwood with a tight grain and natural oils that make it water-resistant and durable, which are excellent qualities for a charcuterie board.
Worst wood options:
Pine or bamboo: This softwood is prone to dents and scratches, making it less suitable for charcuterie boards that require regular use. As these can be inexpensive, many larger companies tend to use them when trying to reduce costs.
Poplar: While poplar is a hardwood, it’s relatively soft and can be prone to damage from knives and other utensils.
MDF or particleboard: These engineered wood products are not suitable for charcuterie boards. This is because they can break apart or swell when exposed to moisture.
Open-grained wood: Woods with open grains (e.g., oak, ash) can be more difficult to clean. Therefore they are more susceptible to bacteria, making them less desirable for charcuterie boards.
Our Top Charcuterie Board Kit Picks
To help cut through the clutter, we’ve compiled a short list of some of the best and highly-rated DIY kits that do in fact include all of the things you need to make stunning charcuterie arrangements at home.
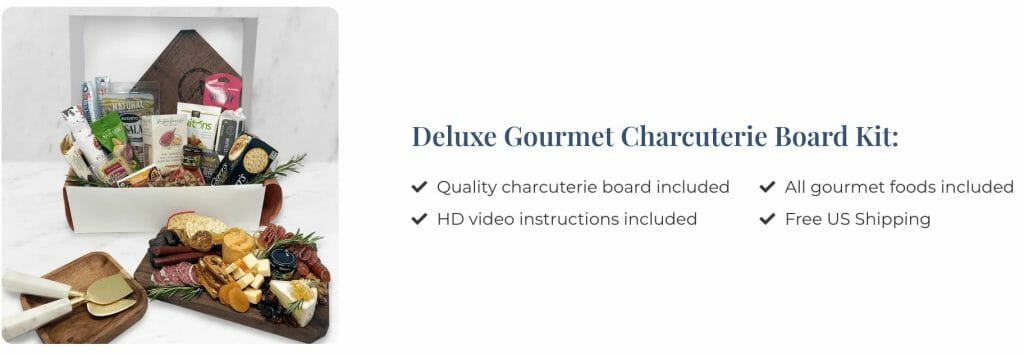
Deluxe Gourmet Charcuterie Board Kit:
Crafted with care in Chicagoland, every charcuterie kit is hand-packed by licensed and certified food handler. This kit offers an abundant selection of unsliced meats, unsliced cheeses, crackers, chocolates, and treats, providing you with everything required to arrange multiple appetizing displays. Also included is a perfectly sized charcuterie board made of walnut wood, that, when properly oiled, can retain its beauty and serve as a timeless piece for generations to come. Lastly, they provide direct asses to HD recordings of their popular, multi-camera charcuterie classes where the founder will teach you how to slice, fold and assemble your perfect board. Click to read more
Gourmet Charcuterie and Cheese Board Experience:
While not directly advertised as a charcuterie kit, this MASSIVE assortment has everything you need for delightful entertaining. This package includes serving bowls, an elegant tray (not a board), and an online tutorial teaching how to create the perfect arrangement. Enjoy curated cheeses like aged Manchego, Gouda, Chardonnay-infused, and Oregon Blue. Also included are premium salami options like Lomo Serrano, dry beef, sliced sopressata and much more. Click here to read more.

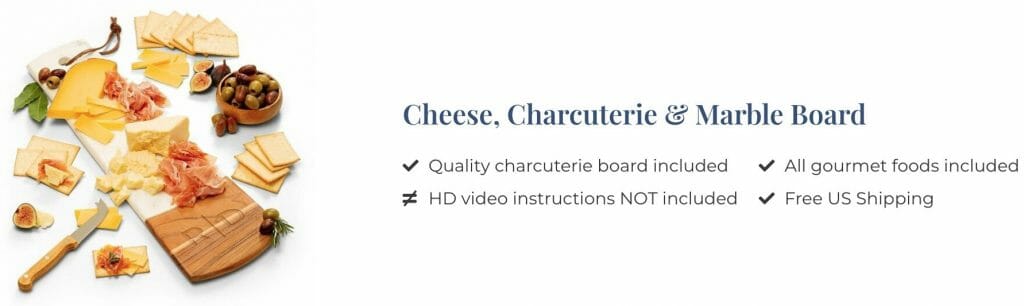
Cheese & Charcuterie Wood & Marble Board:
This package features two gourmet cheeses, salami, olives, and crackers, all beautifully presented. What’s more, this kit comes with an elegant wood and marble snack board with complimentary personalization! Some of the goodies are: aged flagship cheddar cheese, black pepper gouda cheese, and an array of accompaniments like prosciutto and crackers, all served with a stylish bamboo-handled cheese blade.. Click here to read more.
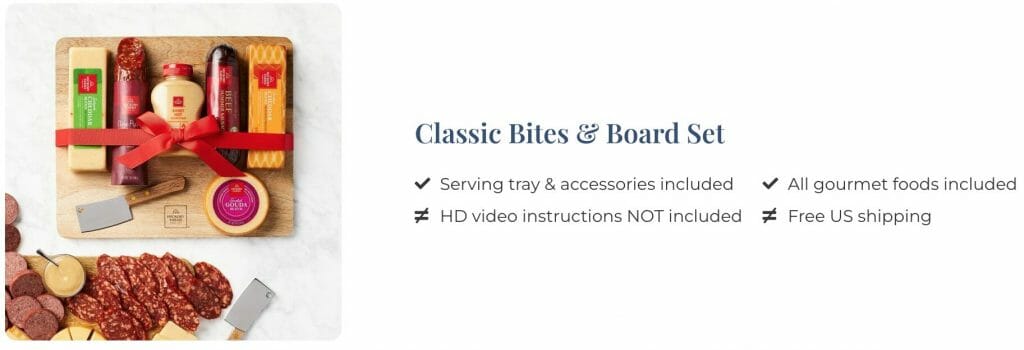
Classic Bites & Board Set:
Also not directly marketed as a kit, this affordable option comes with a mango wood cheese board and cheese cleaver. Featured flavors include: signature beef summer sausage, three pepper dry salami, jalapeño cheddar, smoked cheddar, smoked gouda and sweet hot mustard. Priced well below $100, this is very affordable kit. Click here to read more.
Step-by-Step Guide to Assembling Your Charcuterie Board Kit

Unboxing and organizing your kit components
Before you dive into assembling your charcuterie board, take a moment to unbox and organize your kit components. Carefully unpack each item, ensuring that nothing is damaged or missing. Next, lay out your ingredients, serving board, and utensils in a clean, easily accessible workspace. By taking the time to properly organize your kit components, you’ll set yourself up for a smooth and enjoyable process.
Tips for following the provided assembly instructions
Most charcuterie board kits come with clear and easy-to-follow assembly instructions to guide you through the process. As you begin, read through the entire set of instructions to get a sense of the overall assembly flow. Then, follow each step carefully, paying close attention to the details and any recommended techniques. Don’t hesitate to reference the instructions as often as needed, and remember that practice makes perfect! Remember: every time you make another charcuterie board you’ll be getting better at it.
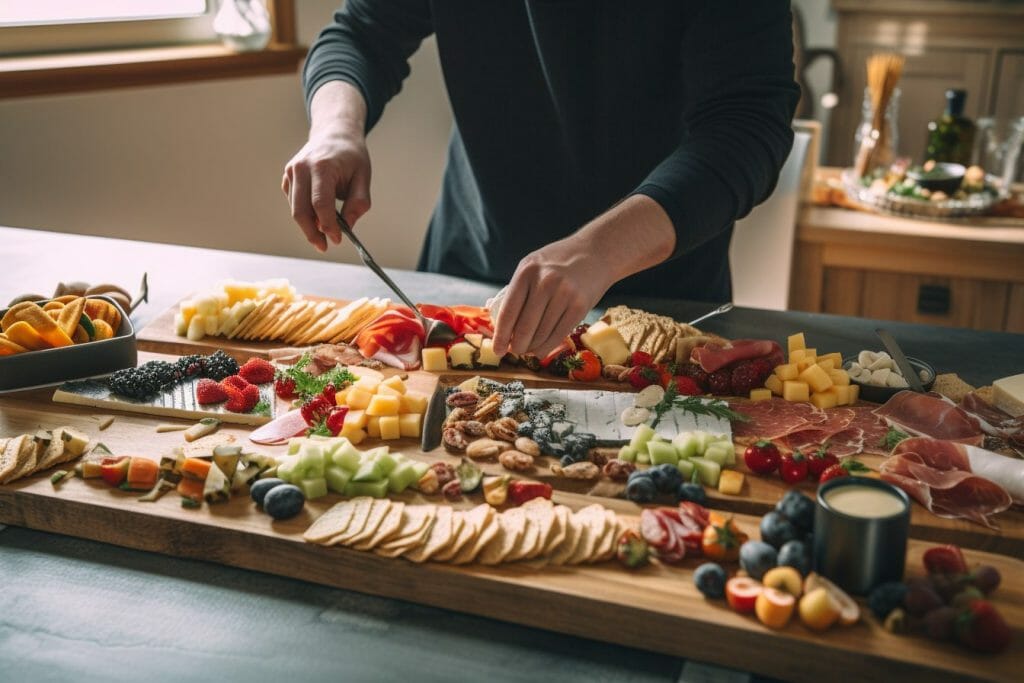
Techniques for creating a visually appealing presentation
A visually stunning presentation is one of the key elements of a successful charcuterie board. To achieve this, consider using the following techniques:
Color coordination: Arrange ingredients with contrasting colors next to each other to create a visually appealing and vibrant board.
Shape variety: Mix and match different shapes and sizes of ingredients, such as round cheeses, rectangular crackers, and sliced meats folded into interesting shapes.
Height variation: Add dimension to your board by using small bowls or ramekins for dips, spreads, and other accompaniments.
Grouping: Group similar items together, but also spread them out across the board to encourage guests to explore different sections.
Garnishing: Add a finishing touch with fresh herbs, edible flowers, or decorative picks for a polished and professional presentation.
Balancing flavors, textures, and colors
A well-balanced charcuterie board combines a variety of flavors, textures, and colors to create a harmonious and delightful experience for your guests. As you assemble your board, consider the following tips:
Flavor balance: Include a mix of sweet, salty, savory, and tangy ingredients to keep your guests’ taste buds engaged and excited.
Texture variety: Combine soft and creamy cheeses with crunchy crackers, crisp fruits, and velvety cured meats for a pleasing contrast in textures.
Color coordination: Choose ingredients with a range of colors to create a visually appealing and appetizing board. Incorporate fresh fruits, vegetables, and garnishes to add pops of color and brightness.
By focusing on these elements, you’ll create a charcuterie board that is not only a feast for the eyes but also a delightful journey of flavors and textures for your guests to enjoy.
Tips For Enhancing Your Display:

While good charcuterie board kits provide fantastic starting points, they will often not include fresh fruits or vegetables because of the difficulty in shipping. That is why adding your own personal touch can truly elevate your creation.
While not required, if your goal is to knock your charcuterie out of the park, consider introducing unique ingredients that reflect your personality. Here are some additional suggestions:
Incorporating seasonal and regional elements
Another way to enhance your charcuterie board kit is by incorporating seasonal and regional elements. By using ingredients that are fresh and in-season, you’ll not only create a more flavorful board, but also support local producers and reduce your carbon footprint. Consider adding seasonal fruits, vegetables, and locally produced cheeses or meats to your board. This approach allows you to showcase the best that each season has to offer while also creating a unique and memorable experience for your guests.
Pairing your charcuterie board with beverages
No charcuterie board is complete without the perfect beverage pairing. By thoughtfully selecting drinks that complement the flavors and textures of your board, you’ll elevate the entire experience to new heights. Classic pairings include red or white wine, which can enhance the flavors of both the cheeses and cured meats. For a more adventurous option, consider pairing your board with craft beer or even artisanal cocktails. Non-alcoholic options such as sparkling water, iced tea, or a refreshing mocktail can also make a lovely accompaniment. Remember, the goal is to create a harmonious balance of flavors that allows each element of your charcuterie board to shine.
Caring for Your Charcuterie Board and Utensils
Proper cleaning and maintenance
Taking good care of your charcuterie board and utensils is essential for ensuring their longevity and maintaining a safe, hygienic environment for your food. After each use, gently wash your serving board with warm, soapy water and a soft sponge. Avoid soaking the board in water, as this can cause it to warp or crack. For wooden boards, periodically apply a food-safe mineral oil or beeswax to keep the wood moisturized and prevent drying or splitting. When it comes to utensils, follow the manufacturer’s guidelines for cleaning and maintenance, and always hand-wash any delicate or specialized items.
Tips for storing and reusing your serving board
Proper storage is key to preserving the life of your charcuterie board. Store your serving board in a cool, dry place, away from direct sunlight or heat sources, which can cause warping or discoloration. If possible, store your board upright to promote air circulation and prevent any moisture buildup. Additionally, avoid using the same board for raw meats and other ingredients to prevent cross-contamination. If you plan on reusing your serving board for multiple events, consider having designated boards for different types of food or occasions.
Ensuring food safety
Food safety should always be a priority when assembling and serving your charcuterie board. Make sure to wash your hands thoroughly before handling any food, and use clean utensils and surfaces for preparation. When selecting ingredients, check for any signs of spoilage or contamination and only use items within their expiration dates.
During your event, monitor the temperature of your charcuterie board and avoid leaving perishable items out for extended periods.
To be on the safe side, follow the two-hour rule: discard any perishable food that has been sitting out at room temperature for more than two hours. By adhering to these food safety practices, you’ll ensure that your charcuterie experience is both delicious and safe for everyone to enjoy.
Frequently Asked Questions:

What is in a charcuterie board kit?
A charcuterie board kit typically includes a variety of pre-selected gourmet ingredients such as cured meats, cheeses, crackers, and accompaniments like fruits, nuts, and spreads. In addition, the kit may also contain a wooden serving board and utensils such as cheese knives and small forks. These kits are designed to provide everything needed for assembling and presenting a visually appealing and delicious charcuterie platter.
What should I buy for a beginner charcuterie board?
For a beginner charcuterie board, buy:
- Cured meats: salami, prosciutto, pepperoni
- Cheeses: brie, cheddar, gouda
- Crackers or crusty bread
- Accompaniments:
- Fresh or dried fruits
- Nuts
- Olives
- Spreads (hummus, mustard, fig jam)
- Wooden serving board
- Utensils: cheese knives, small forks
Why is charcuterie so expensive?
Charcuterie can be expensive for several reasons:
- High-quality ingredients: Charcuterie often features truly gourmet meats and cheeses that are difficult to source and costly for regular customers.
- Artisanal time & craftsmanship: The expertise and time involved in sourcing, slicing and arranging beautiful, appealing charcuterie adds to the cost and value.
- Quality costs: Many charcuterie items are difficult to source, are gourmet, and often imported, leading to higher prices.
- Perishability: Charcuterie items have a limited shelf life and need proper storage, adding to the overall cost. As they cannot often be created in bulk or more than a day or two ahead of time, each creation is typically truly one of a kind.
While charcuterie may seem pricey at first glance, it’s frequently more cost-effective than purchasing all components individually, spending time slicing, arranging, and managing an excess of leftovers. In fact, spending $250 on a beautifully prepared board by a professional might save upwards of $100.
How to make a cheap and good charcuterie board?
To make a cheap and good charcuterie board, follow these 7 simple steps:
- Choose budget-friendly meats: Opt for more affordable options like salami, pepperoni, or prosciutto instead of pricey artisanal cured meats.
- Select cost-effective cheeses: Incorporate a variety of flavors and textures with more wallet-friendly cheeses such as cheddar, gouda, or brie.
- Add crackers or bread: Include an assortment of affordable crackers or slices of baguette as a base for the meats and cheeses.
- Include colorful fruits and vegetables: Use seasonal and local produce like grapes, berries, cherry tomatoes, or baby carrots for added color and freshness.
- Incorporate nuts and olives: Add budget-friendly nuts like almonds or peanuts, and a small dish of olives for extra texture and flavor.
- Use homemade dips or spreads: Prepare a simple homemade hummus, tapenade, or jam to accompany the board.
- Present on a DIY board: Repurpose a wooden cutting board, a large platter, or even a baking sheet as your charcuterie board.
By choosing more affordable ingredients and being creative with presentation, you can create a cheap and delicious charcuterie board that is sure to impress.
How much charcuterie do I need for 30 people?
For a gathering of 30 people, you will need 60 ounces (1.7 kg) of charcuterie for a light appetizer or snack, and 150 ounces (4.25 kg) for a cocktail party where charcuterie is the main food, served with plenty of bread.
Here’s the breakdown:
- Light appetizer/snack: Allocate 2 ounces of charcuterie per person, totaling 60 ounces (1.7 kg).
- Cocktail party/main food: Provide 5 ounces per person, along with ample bread, totaling 150 ounces (4.25 kg).
Keep in mind that these are general guidelines, and you should adjust the quantities based on your guests’ preferences, dietary restrictions, and the presence of other dishes at your event.
Wrapping It All Up
As you prepare for your next gathering, we wholeheartedly encourage you to give a DIY charcuterie board kit a try. Not only will you delight your guests with a delicious assortment of flavors and textures, but you’ll also create a memorable experience that fosters connection and camaraderie. So go ahead, explore the wonderful world of charcuterie, and unleash your inner epicurean with a fantastic charcuterie board kit. Happy assembling!


