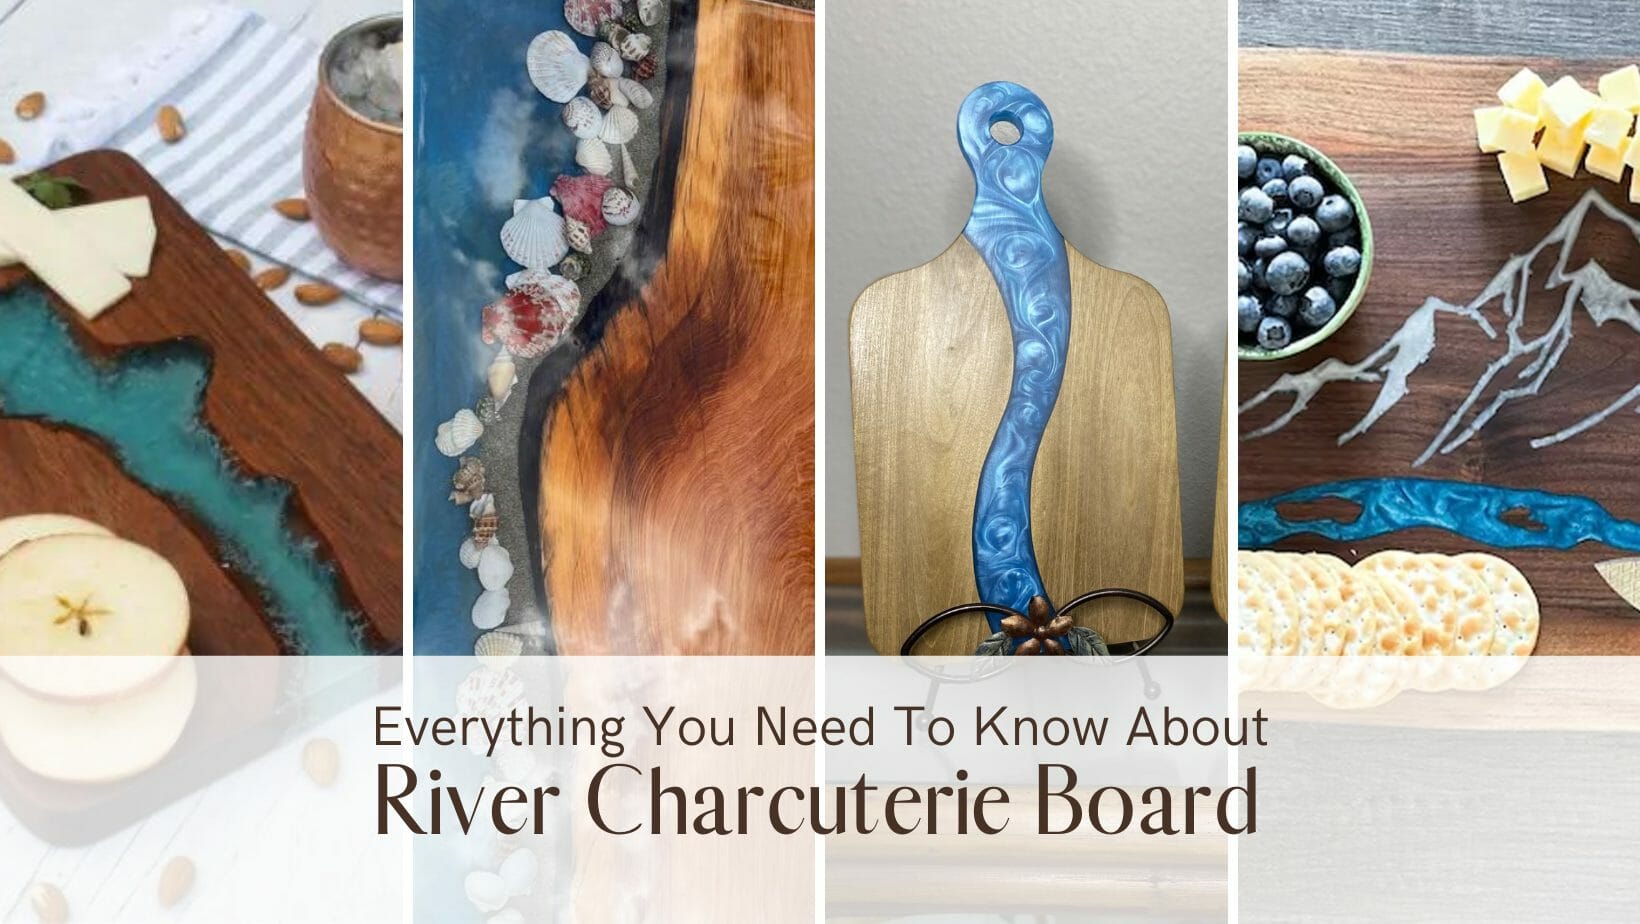
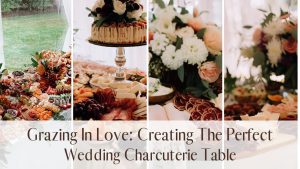
Standard wooden charcuterie boards can often be gorgeous, but few things can create a WOW factor like a river charcuterie board! This unique twist on a classic party favorite is sure to impress your guests and add a touch of natural beauty to your table.
Not only is a river charcuterie board aesthetically pleasing, but it's also a functional way to serve any style of charcuterie. Get ready to learn how to make your own river board and take your hosting skills to the next level! Not feeling crafty? We will also show you some of the best places to buy these very cool looking designs.
Dive into charcuterie mastery with immediate access to a community of 514K professionals. Click here and start transforming your gatherings today!
Table of Contents [CLICK HERE TO OPEN]
What Is A River Charcuterie Board?
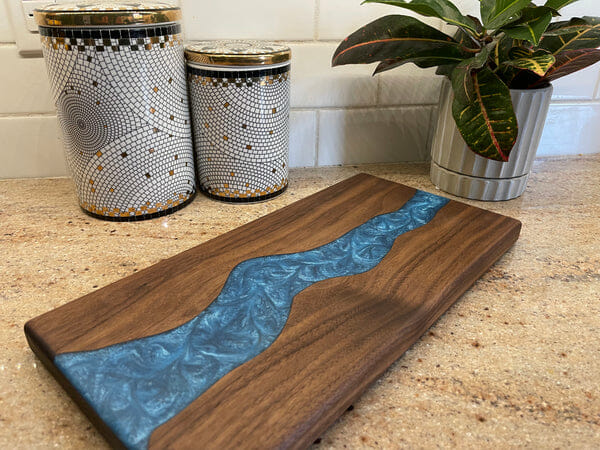
Imagine a gorgeous wooden board with a shimmering river flowing right through the middle. The river is made of clear epoxy resin that provides a smooth and shiny surface, making it look like a real river. You can add different colors to the resin to match the theme of your event or the style of your home. Then, you can place a variety of delicious items on the board, all arranged around the river.
How To Make One Of Your Own
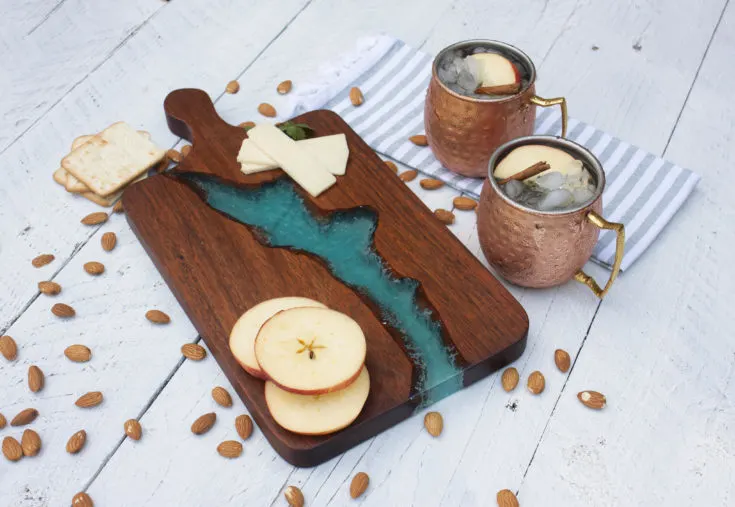
Making your own river board is a lot easier than you might think! With just a few materials and some basic steps, you can create a stunning and unique centerpiece. Let's dive in and learn how to make your own in just a few simple steps.
To start, you'll need an idea of what you want your board to look like. Think about the different types of wood textures and colors as well as the color of resin. Decide if you want to incorporate other details such as stones, sand, leaves, etc.
Whatever design you decide on, you'll need the following basic materials:
- A leak-proof box or bin to work in
- A wooden board and/or other wooden pieces
- Epoxy resin
- River rocks or stones (optional)
Once you've gathered all your materials, follow these basic steps to build your charcuterie board:
- Prep all wooden pieces by sanding them down and cleaning them thoroughly.
- Arrange all wooden pieces, rocks, and other details inside the work box space to mimic a river bank.
- Mix the epoxy resin according to the package instructions and pour it onto the river bank portion of the box.
- Spread the epoxy resin evenly using a foam brush or spatula.
- Let the epoxy resin cure for 24-48 hours until it's fully hardened.
- Add any addition details and resin layers (optional) to achieve the design you want. If layering different colors of resin, be sure to let each layer cure before adding the next color.
- Voila! Your beautiful and functional river board is ready.
It might take a little practice, but with these tips in mind, you're sure to create a stunning river charcuterie board that will be the talk of your next gathering.
Video Tutorial
If you need a bit more guidance then check out the video below:
Where To Buy River Charcuterie Boards
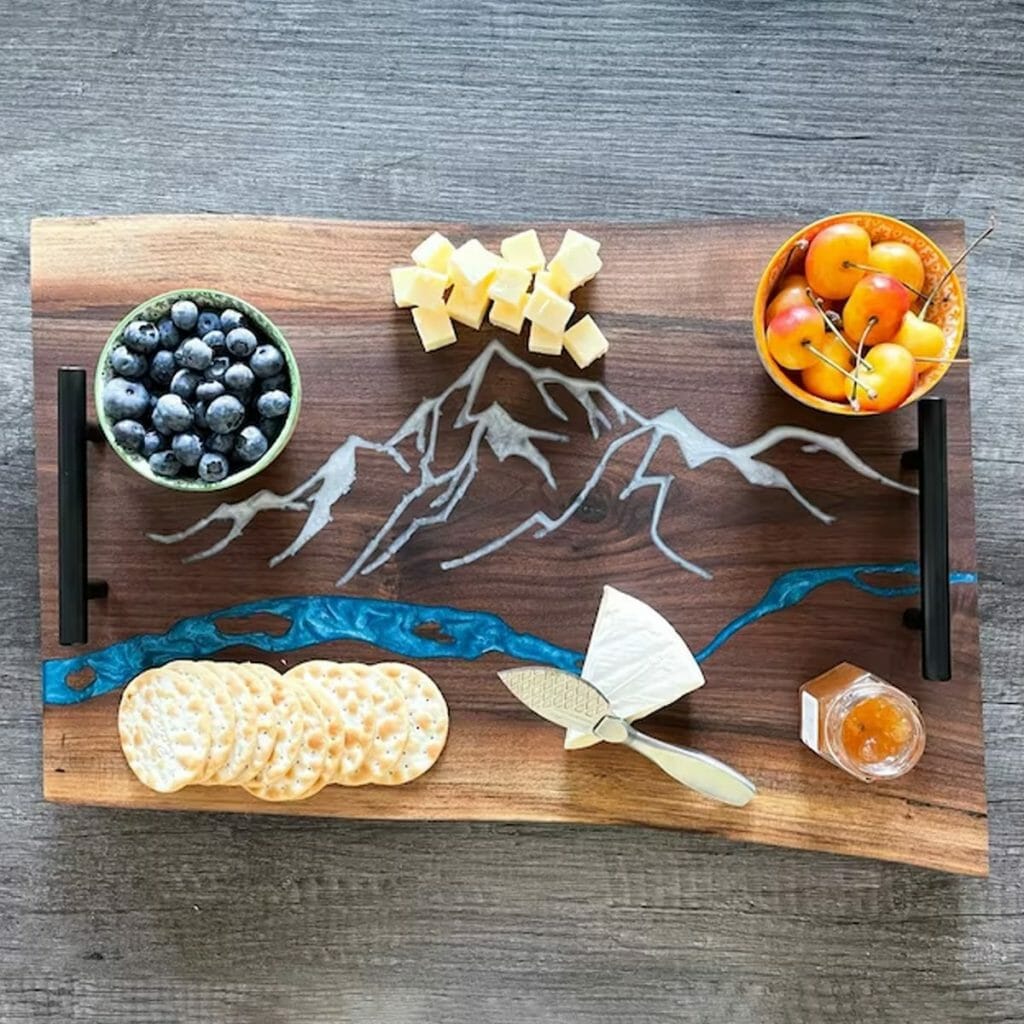
Don't want to make your own? No problem! Here are ten places to find the perfect already-made river boards.
Amazon
Printerval
Etsy
Wayfair
Rock Woodworks
Kooky Kreations LLC
Sandia Mountain Woodworks
Even More Gorgeous River Board Ideas
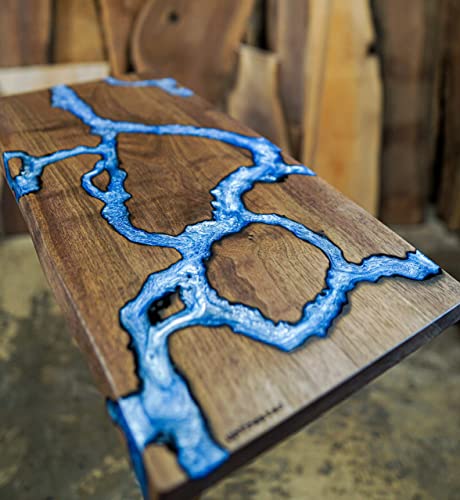
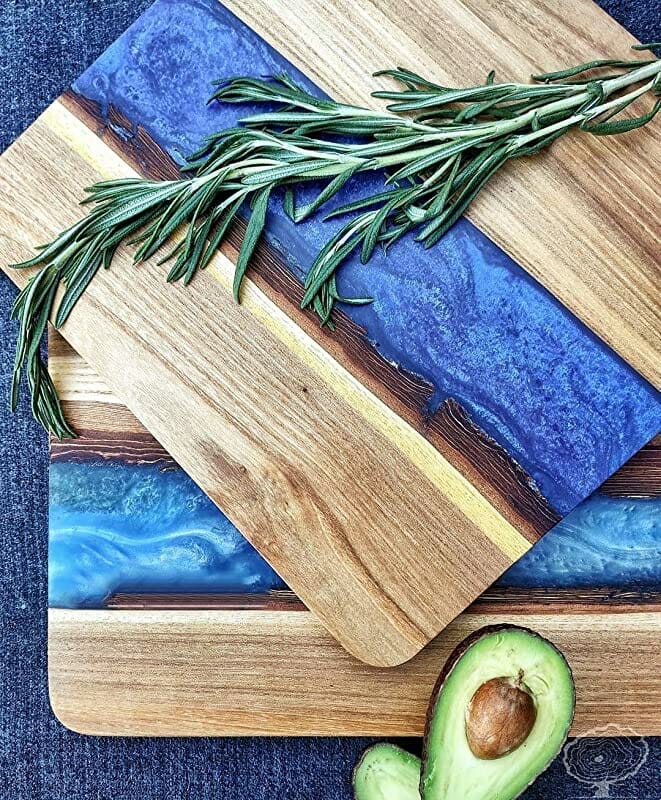
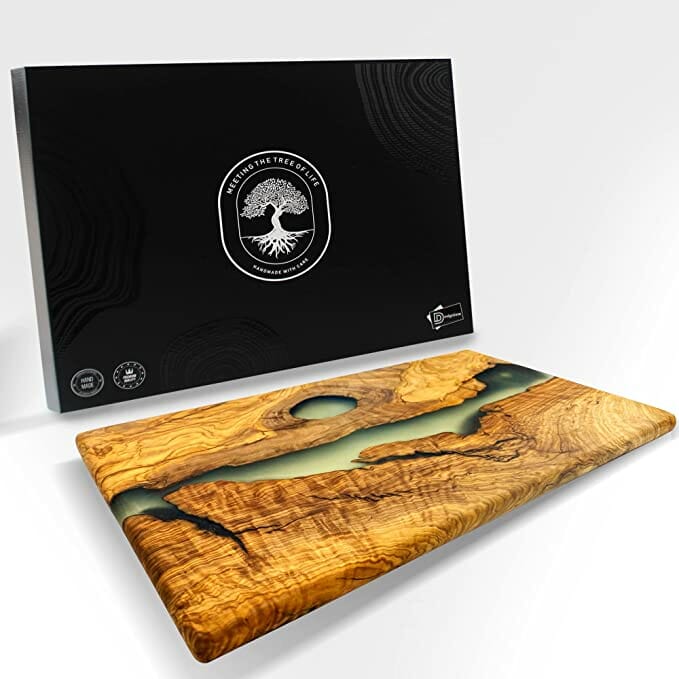
Need more inspiration? Look no further. These beautiful river charcuterie boards will dazzle you!
Discover limitless charcuterie inspiration here!
What Will You Make?
There you have it – a step-by-step guide to making your very own river charcuterie board! This fun and easy project is a great way to impress your guests and add a touch of natural beauty to your table. With just a few materials and some creativity, you can create a stunning centerpiece that's sure to be the talk of your next gathering. Remember to have fun with your design, experiment with different colors and textures, and let your creativity run wild!
Whether you're a seasoned host or a beginner, a river charcuterie board is a great addition to any party or event. So, what are you waiting for? Get crafting and make your own river charcuterie board today!

